If you’re an author who wants to attract more readers to your fiction or nonfiction books, a great way to do that is by creating a landing page.
A landing page where readers come to your website – via a link at the back of your ebook – and find a focused, relevant and compelling offer that you give them in return for their email address.
To build your brand and sell more books – over time – it makes sense to continue to gain more readers interested in your books and who subscribe to an email list that is specifically set up for your fiction, or nonfiction books.
A Landing Page is also very win-win way to attract readers to your books. I created a landing page with Optimize Press that I love… so I thought I’d show you how I did that.
Tips from other successful authors who have ‘been there’…
If you’ve written one or more books, you know how tough it is to find readers for your book. That has been one of my big struggles too.
That’s why I’m always happy to learn from other authors who have already made tons of mistakes and through all their failures have learned how to do things better.
If you want more tips on growing your list of readers, you can also grab your copy of this FREE ebook to help you learn how.
Since I didn’t know how to write code in WordPress, I needed a little help – something that was simple to understand – to create my page.
I decided to try Optimize Press.
There are other options, like Lead Pages or BookLaunch.io, but I found Optimize Press was the best option for myself(on a limited budget) where I have the possibility of using the membership options(like a payment gateway) and creating as many book pages as I need for a one-time price of $97(USD).
In this post, I’m going to walk you through what I did to create the landing page for my book. I hope you find it helpful as you create your own pages for your books.
How to Create a Landing Page in WordPress using Optimize Press
1.First go into your WordPress dashboard. After you’ve purchased Optimize Press, you download your plugin, click activate and then you’ll see Optimize Press listed in the Left-Hand column inside your dashboard. Click on Create New Page.

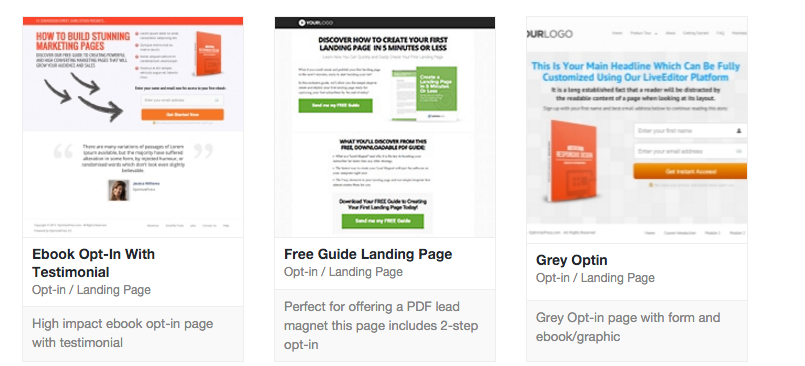
2.Next, you’ll see a selection of templates that you can choose from to best suit what you need. In this case, since we’re creating a landing page, we’ll choose from Opt-In/Landing Pages.

3. Here’s the simple Grey Opt-In template that I chose below.
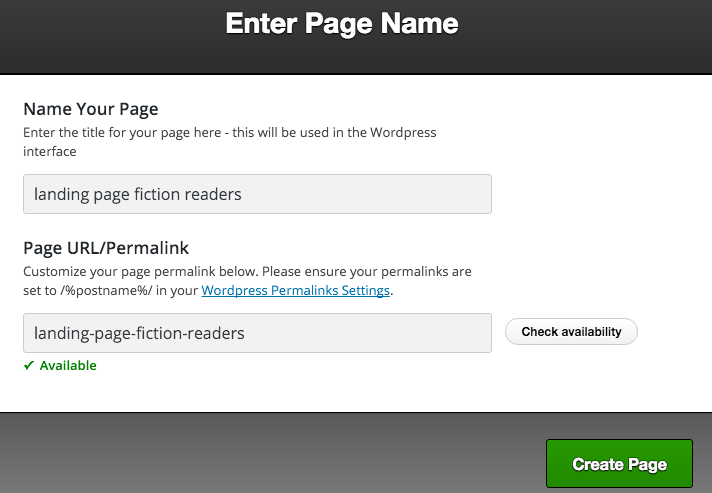
4.Now you can name the page. It will create a link for you automatically, which is really helpful. Then click Create Page.
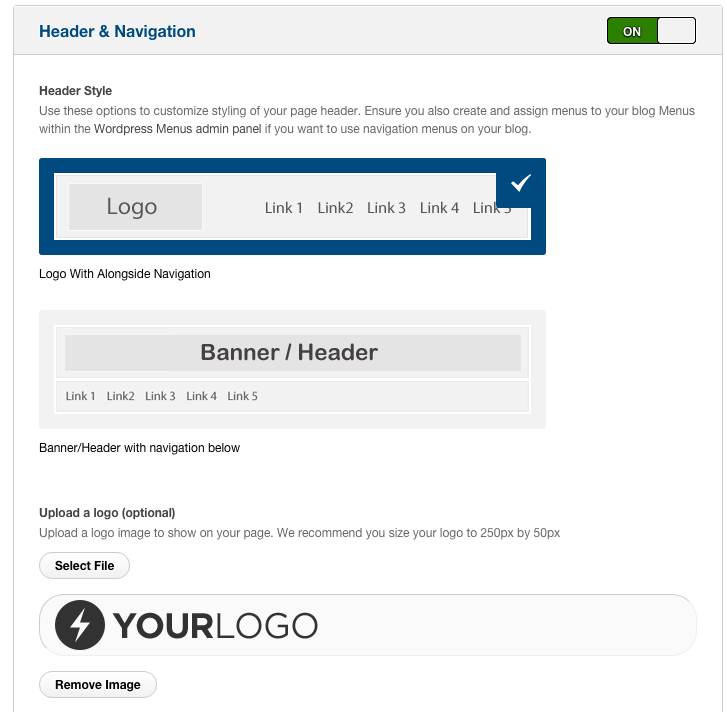
5.Now you should be inside Optimize Press’s Live Editor. Here’s where you can create all sorts of fun pages 🙂 It’s has a simple format which is easy to use with it’s drag and drop way of organizing your text and pictures, etc. So all you need to do is edit it a bit. Start with your logo. All I did was type my name in Canva and then I sized it to the recommended size for a logo(250 x 50). When you get back to your Live Editor, Click on Layout Settings. Next turn header and navigation off and on again. Then click on select file and choose from your download files the logo you just created in Canva.
6.Next change your headline. To do that click on the “pencil button” you see on the RH side of the headline.

7. Once you click the “pencil button” a box will open up where you type in your headline. You can change the colors, the size of your font, italics or bold and you can also center your text. Once you have created it how you like it, click the Insert button at the bottom.
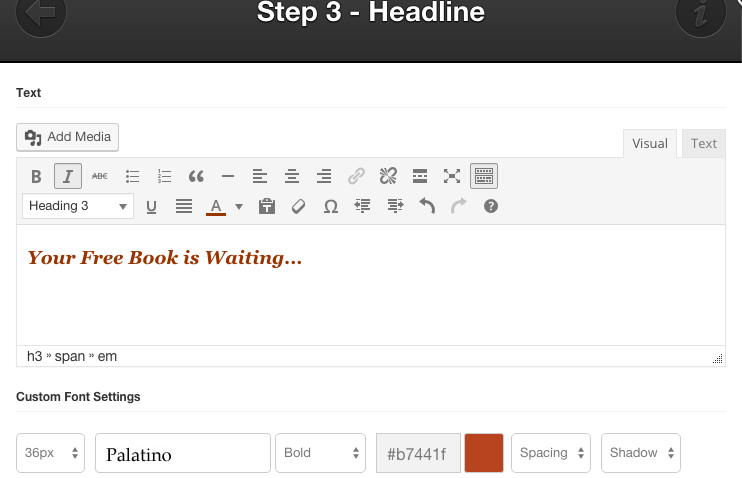
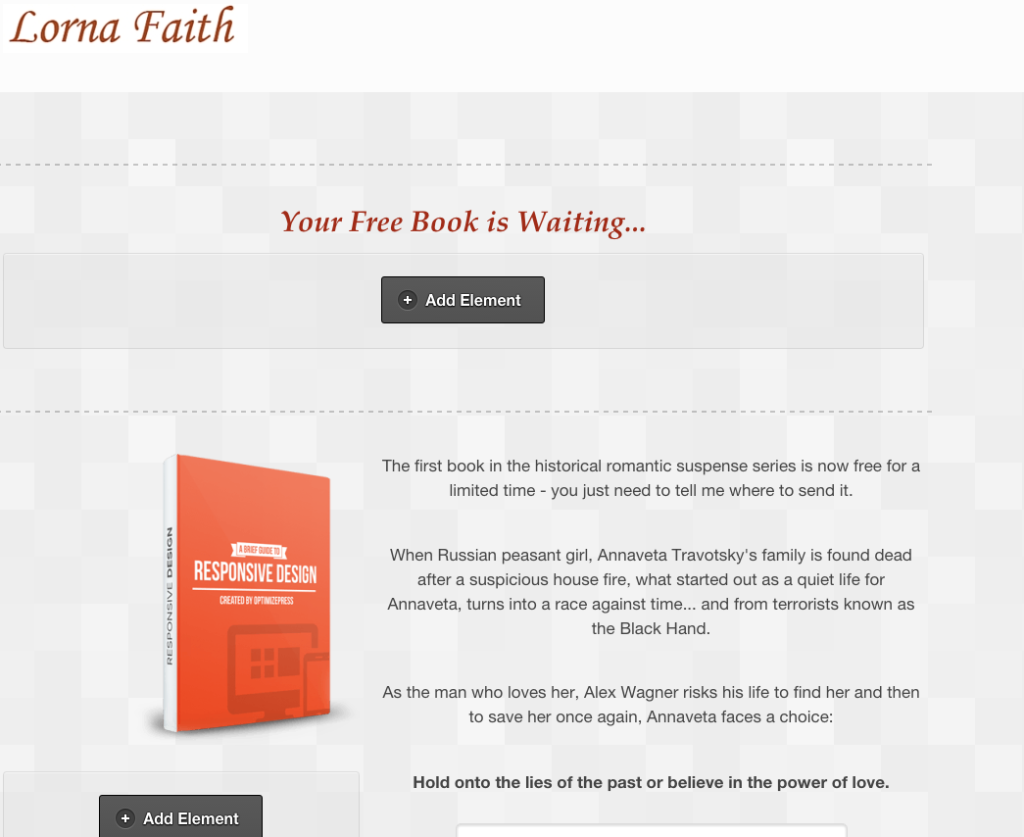
8. Next you can rearrange where you want your longer text to be located on your page. I wanted the picture of the book higher up, so I deleted the sub-header text and dragged the smaller text down by clicking the navigation button. Click save and continue and then you can click view public link to see what your page looks like so far.
![]()
9.I wrote more information about the book by clicking the pencil box(see #7). Then I centered the text and clicked insert. Click save and continue. Click to view public link.
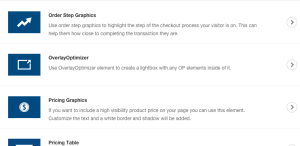
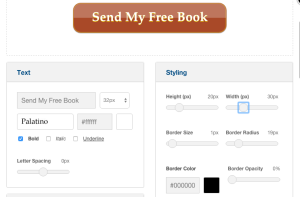
10.I chose to go with an email sign-up that was a 2 step opt-in. So instead of asking readers to put their name and email address in a box on the landing page, I chose to use one simple box which I called Send My Free Book! All I did here was 1)Click the “x” to delete the previous opt-in box. 2)click on Add Element. 3) Click on Overlay Optimizer. 4) Click on Button Designer. 5) Edit your button to how you like it – click text to change your call to action and click styling to change the color of your text box, etc. 6) Click Insert and click save and continue. I chose my own color, clicked off the shine and dragged the border opacity back to zero.
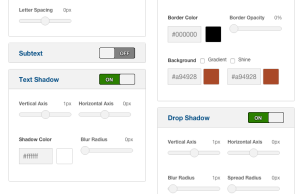
11.To add the email box, click on the “pencil” on the RH side of the new Button you just created. 1)Then click on Add Element. 2)click on Optin-box and 3)choose the opt-in box you want.



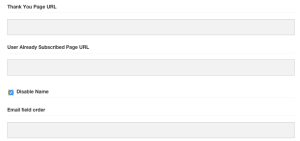
12. Next, link your opt-in box up to MailChimp or Aweber or whatever you use. 1)Link it to the list you’re using. (NOTE: Double check that you’ve added your API key – if you don’t have it, just contact your service provider and ask where to find your API key. 2) head to the backend of your WordPress website and hover over Optimize Press. Find where it says “email marketing services” and paste your API key into the service you use(MailChimp, Aweber, etc.). Then click on save. TIP: I click “disable name” so readers don’t have to add their name and only need to give their email address. Go with what you’re comfortable doing 🙂 3)Create a separate WordPress page as your thank you page. Then add this URL to the Thank You Page URL you see below. 4) Create a User Already Subscribed Page in WordPress website and add the URL to the box you see below. Then click save.
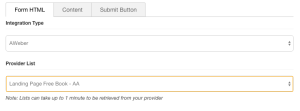
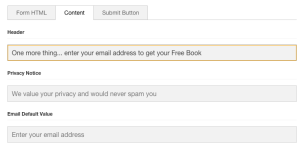
13.Fill in the rest of the details of your Opt-in Box under ‘content.’ 1) Add the text you want for the Headline of your Opt-in box that hovers over the page. 2)Edit the text on the custom button and click insert. 3)Click save and continue.
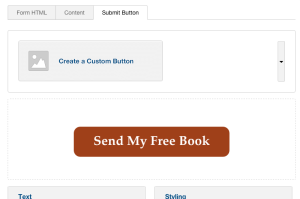
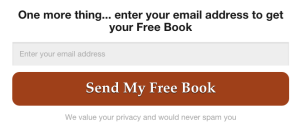
14.Double check that you’ve got rid of any extra links on this landing page. Any extra social media buttons or any other links will distract the reader. You want them to focus on clicking the link and getting their free book. To get rid of the links: 1)go to Layout Settings turn off Header and Footer(refer to #5). 2)Click update. 3) Click save and continue. 4) View public link.
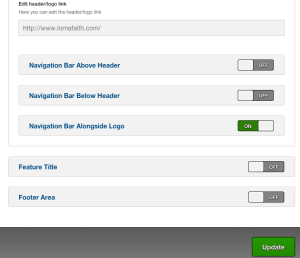
15.Go to Live Editor and drag and drop the text to where you want it. You can bring the Your Free Book is Waiting… text down so that it’s centered above the summary you’ve given for your book. It’s best when you have everything nice and neat and centered. Click on the “pencil” to edit any text or buttons so it says and looks just how you want it.
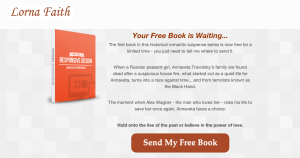

16.Next upload a JPG pic of your book. I use BoxShot 4 to give the book a 3D look. I made the picture of the book bigger by using custom dimensions of 265 x 435 in Canva. Click select file and then click save.
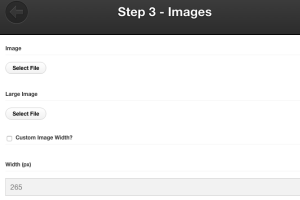
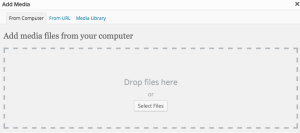

17. Click on View Public Link. You should see your awesome new landing page ready to go. You can test it by adding your own email into the opt-in box that comes up when you click on Send My Free Book.
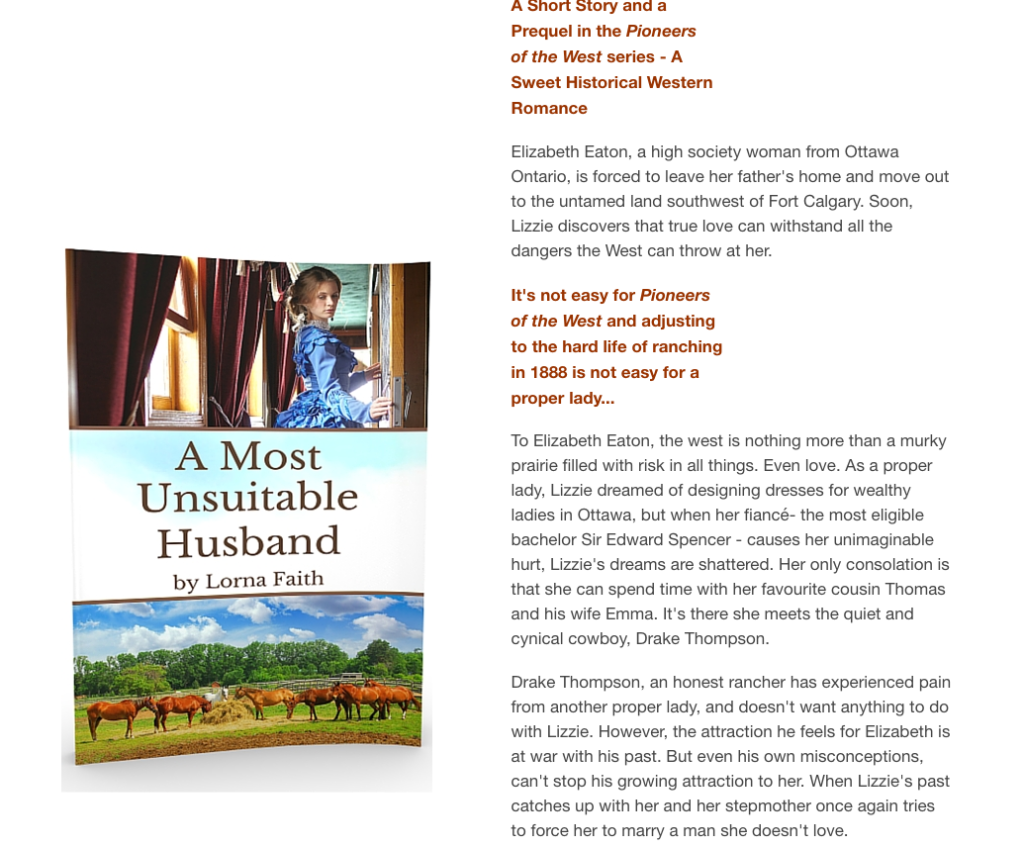
Here’s the landing page that was created, so you have an idea of how it turned out. I then saved the file on google docs and dropbox… both of which are simple to access.
That’s all there is to it. Simple, right?
This drag and drop simple way of creating a landing page is much easier to figure out, than trying to learn how to code(that’s way to technical for me ;). That’s why I’m happy using Optimize Press and I’ve created new pages over and over again for only a one time fee… which is good for anyone on a limited budget 😉
I hope you find these steps helpful as you create book pages for your own books. If you’ve found this blog post useful, please share it with other authors you know ~ maybe it will help them too.
Have you created a landing page for your books – or maybe you have another way to create a landing pages for you books? Please share in the comments ~ I’d love to learn from you!
*Photos are screenshots by Lorna Faith
*Some of the above links are affiliate links and help to support this blog
